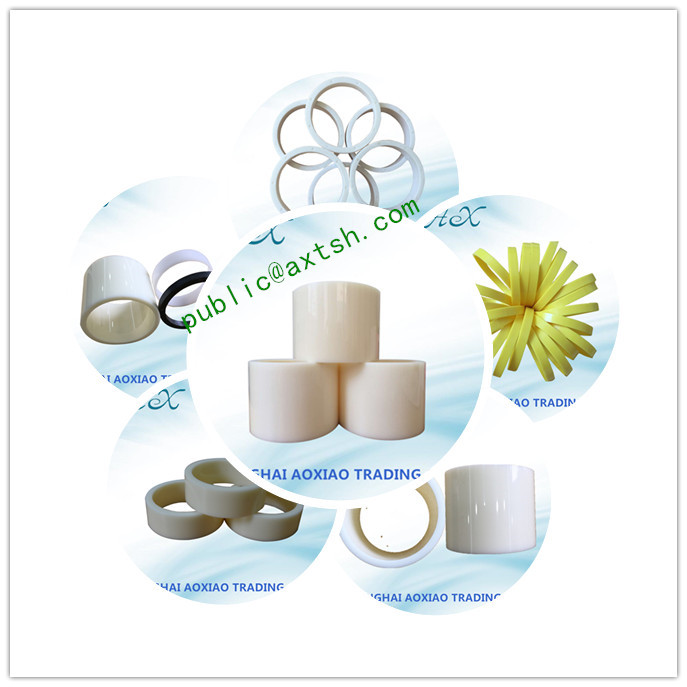
Quality Inspection of Conventional Injection Molded Parts
This standard mainly stipulates the inspection and test methods for various plastic products produced by injection molding. It is applicable to the inspection of general injection molding products. This standard is only for routine testing. The special requirements are based on PATRSPEC. PVC Plastic Tube Core Manufacturer to share with you the quality inspection of conventional injection molded parts.
1. Explanation of common defects
RURNS: Decomposition of materials caused by heat.
DISCOLORATION: Inconsistent from the original color or color.
FLOWMARKS: The stripes formed by the flow of plastic parts like the dry river channel.
HAZE: A defect or area formed on the surface of a clear material.
PITS: Small pits or surface defects.
PROTRUSIONS: A point or face that is higher than the surface of the surrounding material.
SCRATCHES: Small grooves or points or faces that cut into the surface of the material.
SINKMARKS: Surface shrinkage or small trapping.
SPECKS: Small particles or impurities on the inside or inside.
WELDLINES: Visible lines (marks) formed when the front end of the cold surface of the plastic surface is welded together.
Measuring surface: observed surface First measuring surface: top or side that the user often sees Second measuring surface: the side, corner or edge that the user accidentally sees or rarely sees. The third measuring surface: the total assembly, the components, the bottom surface of the parts or the surface of the parts that are attached to each other during assembly.

2. Check conditions
2.1. This standard is based on the premise of no impact on function and is based on visual comparison. It is not superior to the limit template and individual special standards.
2.2. Normally measure at 3cm for 3~5 seconds. If defects are found, move to 50cm for 3~7 seconds. It is difficult to see and the obvious disadvantage is OK.
2.3. The detection light source is the fluorescent lamp of the production factory with a visual acuity of 0.7 or more.
2.4. Observation angle: perpendicular to the observed surface and up and down 45 degrees.
Our company specializes in providing high-quality Plastic Tape Plastic Core, if you need it, please feel free to contact us.


